Cheers to you in 2026! My wish is that you have a fantastic year!


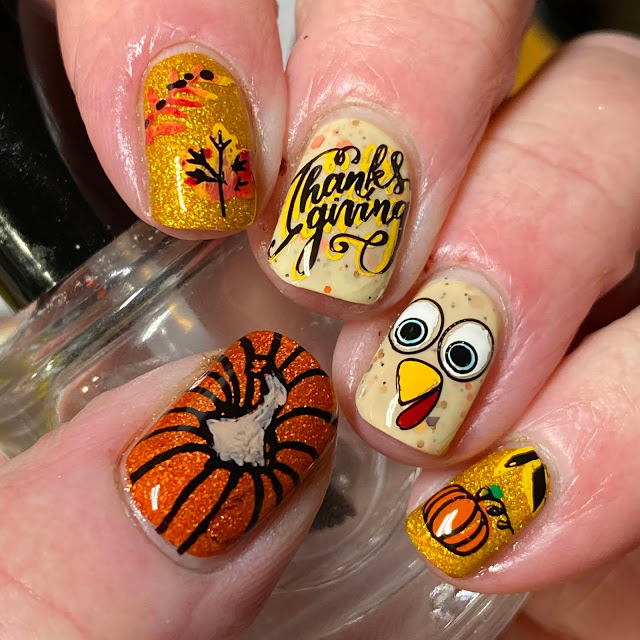
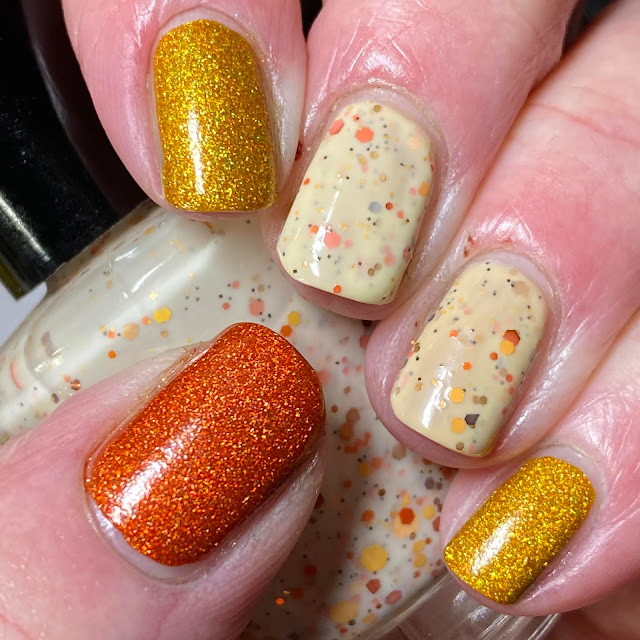
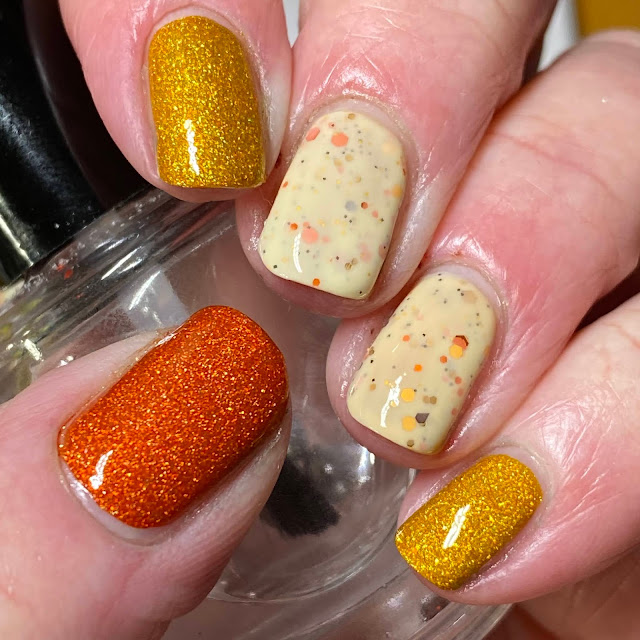
Started with a base of Penelope Luz Yin Yang 10 Years on base of Cupcake White Pop (thumb and pinky), Zoya Carey topped with Noodles Nail Polish Sugar Hill (middle) and Pahlish Fresh Out the Slammer on the rest.

Topped with KBShimmer Clearly on Top.

Moyra 111 Editor


SugarBubbles SBS 12

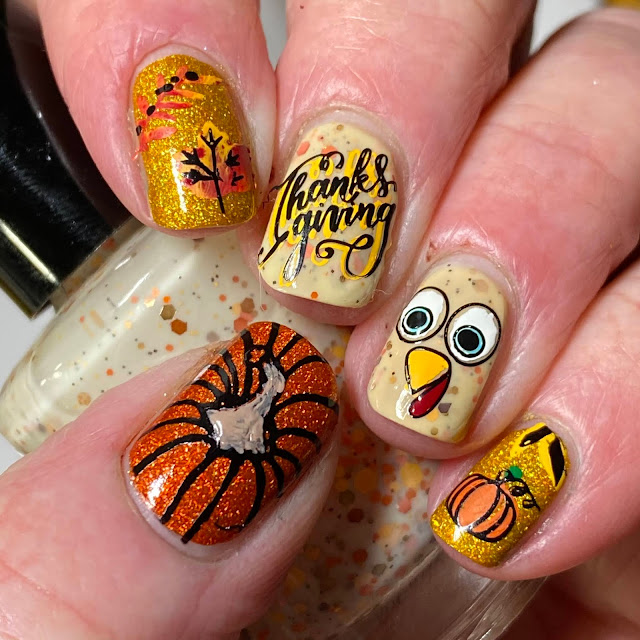
Stamped using images from SugarBubbles SBS 031 (thumb), SugarBubbles SBS12 (middle), MouTeen-197 (cheers and you on the ring), Clear Jelly Stamper CjS H-48 (pinky, index and numbers on ring). Used Hit The Bottle To Have and To Gold and Painted Polish Midnight Mischief stamping polishes. I didn't see the stamping on the middle finger on my skin until after I had taken this picture and did the next step. D'uh!

Added words To and You with image from Moyra 111 Editor and shadow stamped the other words. Still didn't see the stamping on the middle finger that extended onto the skin.

Here, I finally seen it and fixed it lol!

Added some starbursts/fireworks on thumb, index and middle using CjS H48

Topped with KBShimmer Clearly on Top.


This is one of those manis that you think the details will shine when its matte topcoated, so added a layer of Essie Matte About You. I'm divided which version I like better!

All the best to you in 2026! This is your year and I sincerely wish you and yours the very best!
Thanks for looking!