Wednesday, March 26, 2014

Different Dimension Da Ba Dee


I recently read on a FB group not too long ago that the large glitters aren't as much on trend now.   I guess I didn't get the memo because a few days before reading the group comments, I had ordered a few other large glitter polishes including this one.  This is a newly arrived Different Dimension polish, Da Ba Dee.


DD Da Ba Dee (blue; as it was noted on my bottle; not sure why...I even went and looked in the DD shop to see if there are other polishes like Da Ba Dee green or Da Ba Dee purple but couldn't see any!) is a tinted blue jelly with an mixed assortment of glitters including the large round glitters.  I wasn't sure how many layers of polish it would need for full coverage (and just because I'm not a big fan of VNL on me), so did an underwear base of Orly Shock Wave; this is two coats, no topcoat.


Added a coat of Different Dimensions Da Ba Dee (blue).


While normally I wouldn't mind the look of this, I didn't have any of the big circle glitters on my nails which I wanted.  So added a second coat and had more success on snagging a few of them after a good shake up to see if some would surface!  The second coat added more glitter overall making the nails a little bit more interesting too, I think.


Top coated with SV.


Gorgeous!  On trend or not, I love this!


In hindsight, I don't think the underwears were needed as the coverage is pretty good.  Perhaps three coats would have been needed, but it does look like it would have covered nicely. As jelly looking as this is, I'm sure it would have been even more translucent without the blue base.  Next time!


For stamping, wanted an image that you could see the gorgeous base polish underneath; decided upon MoYou Sailor Collection-05 using white Konad special polish.


MoYou Sailor Collection-05


Topped with SV to finish.


The next day, I took a pix in natural daylight; the glitter was a little bit more obvious.


Still using Nail Pattern Boldness Glitter A-Peel!


Different Dimensions can be purchased via her Etsy shop here or llarowe.

I don't follow trends too much unless it is something new and exciting and I'm on the look out for it as I wear whatever strikes me at the moment I decide to do my nails. Whether that's big circle glitters, sands, or any other finish (cough cough magnetics or crackle!) that happens to be trendy...or perhaps has faded.  (I seem to recall reading not too long ago too that nail art is a trend on it's way out....just more proof I will never follow fads because I cannot imagine doing my nails and not stamping them!)  We should wear whatever makes up happy on our nails even if it's not trendy; don't you think?

Thanks for looking!

Monday, March 24, 2014

Lead Light Stamping

As I mentioned in my post here, there's a new method relating to stamping, Lead Light technique which is suppose to be the effect of stained glass.  The end result is like a stamper decal in that it has an assortment of colours, but instead on making a decal and placing it on your nails, you stamp like normal and then fill in the open areas of the image using jelly polishes. LeadLight Lacquer is the line of polishes by Messy Mansion and this is how the term was coined, but you can do it with any jelly polishes. Here's what I came up with not too long ago.


Started with a base of two coats of OPI My Boyfriend Scales Walls, top coated with SV (no pix as have shown before).  Stamped using FUN black stamping polish using an image from CICI & SISI 10.  I chosen this image because I was going for a hand painted look and these flowers looked hand drawn to me!


I gathered a bunch of known jelly polishes that I had in my stash.  Some I had used before and others, I had not.  (I also forgot to include the American Apparel Sheers too which are jellies, not to mention that there are other jelly polishes such as Revlon Royal).  I did testing of these polishes to see which ones I liked best on my right hand and decided upon the ones that I thought would work for this design.  I didn't end up using them all simply because some were close in colour and some colours didn't fit the colour scheme I was going for but I did use a good many of them.


I started to fill in with a brush using the polishes.  I dipped my art brush into the polish brush as needed and cleaned in between as I changed colours.  Polishes used were L'Oreal Mango Mamma, L'Oreal Jolly Lolly and New York Summer Hot Pink on thumb; L'Oreal Miss Pixie on index, L'Oreal Bananarama Love, OPI Be Magentale, New York Summer Hot Purple and L'Oreal Mango Mamma on middle, New York Summer Hot Atomic Red on ring and OPI I'm Never Amberrased on pinky.


There certainly is a technique to this which I didn't really do too well until I painted my ring finger (and that was after doing thumb, index and middle).  The jelly polishes are sheer and you can have more interesting shading or even contouring if you do a combination of layers or heaviness of the same polish, which is most noticeable on the ring finger shading as above.  It's still OK to do it all one uniform colour if you wish; I just think more interesting with a combination of lighter and darker shades of the same polish! As I was going for a hand painted look, and for some interest, I wasn't worried if some of the white in the petals was visible for example, or if I went outside the lines.  I'm sure there will be times when I will want to stay in the lines and fill in everything, but it wasn't the look specifically I was going for here.

Filled in a little bit more using same polishes.


Did more fill in.


I had stamped my right hand and used it for testing on the thumb when I was trying to decide which polishes to use.  While I was waiting for this hand to dry before top coating, I chose my fave of the lot, L'Oreal Miss Pixie and filled in as best I could using my left hand.  I should point out that I loaded the brush pretty good so I wouldn't have to do several coats and again, wasn't that concerned if it was perfect but I didn't turn out too shabby considering it was painted with my left hand and I'm a righty!


Once the polishes were dry, top coated with SV to finish.


This is my other hand top coated and you can see my tester thumb too!


What is great is you can use jelly polishes that you already have on like I've shown here, but if you don't have any jelly polishes, Mentality Polish has a new line that will be released soon if not already.  Messy Mansion also has a line available; however, is still making distribution arrangements because of the strict Australian shipping restrictions so not available for shipping outside of Australia but Julia is working on it.  You can also create your own jelly polishes by adding clear to ones you already have, so lots of options!  I personally found that L'Oreal jelly polishes worked really well and I think they were my fave of the bunch but they were released last year so may not be that easy to get.  But great to use if you have them or can snag them! I liked one of the OPI Sheer Tints but surprisingly found them on the thick side (but had been warned of this in Frazzle and Aniploishes review of them here).  Sally Hansen also has a new line of jellies being released but can't say how they will work as I haven't seen them available for sale in Canada yet and they look really, really sheer from Frazzle and Aniploishes review.  But at least there are lots of options if this is a technique that appeals to you!  I also want to point out that if you are careful, you can do something similar to this with any open image; I did the same fill in with a dotter in a mani here with glitter and here with holo.  The jelly makes it more interesting as you can see the base stamping but this could be done carefully with a creme or holo polish or other sheer polishes with the right design and a steady hand! (I also wish I had have thought to use glitter in the centers of the polish in hindsight....maybe next time!)

What do you think?  Do you think you will try Lead Light stamping?  To me, it is just another way for stampers to expand our stamping options for more interesting nails and I don't think we stampers can complain about this!  There are a lot of 'open' images like this one too that lend themselves to either stamper decals or this jelly fill in technique.

Thanks for looking!

P.S.  The first name chosen for the recent Sally Hansen Prize Pack didn't respond but a second name has been chosen and an email sent!

Update:  The second winner has responded!  Congrats Summer!

http://canadiannailfanatic.blogspot.ca/2014/02/sally-hansen-prize-pack-giveaway.html

Saturday, March 22, 2014

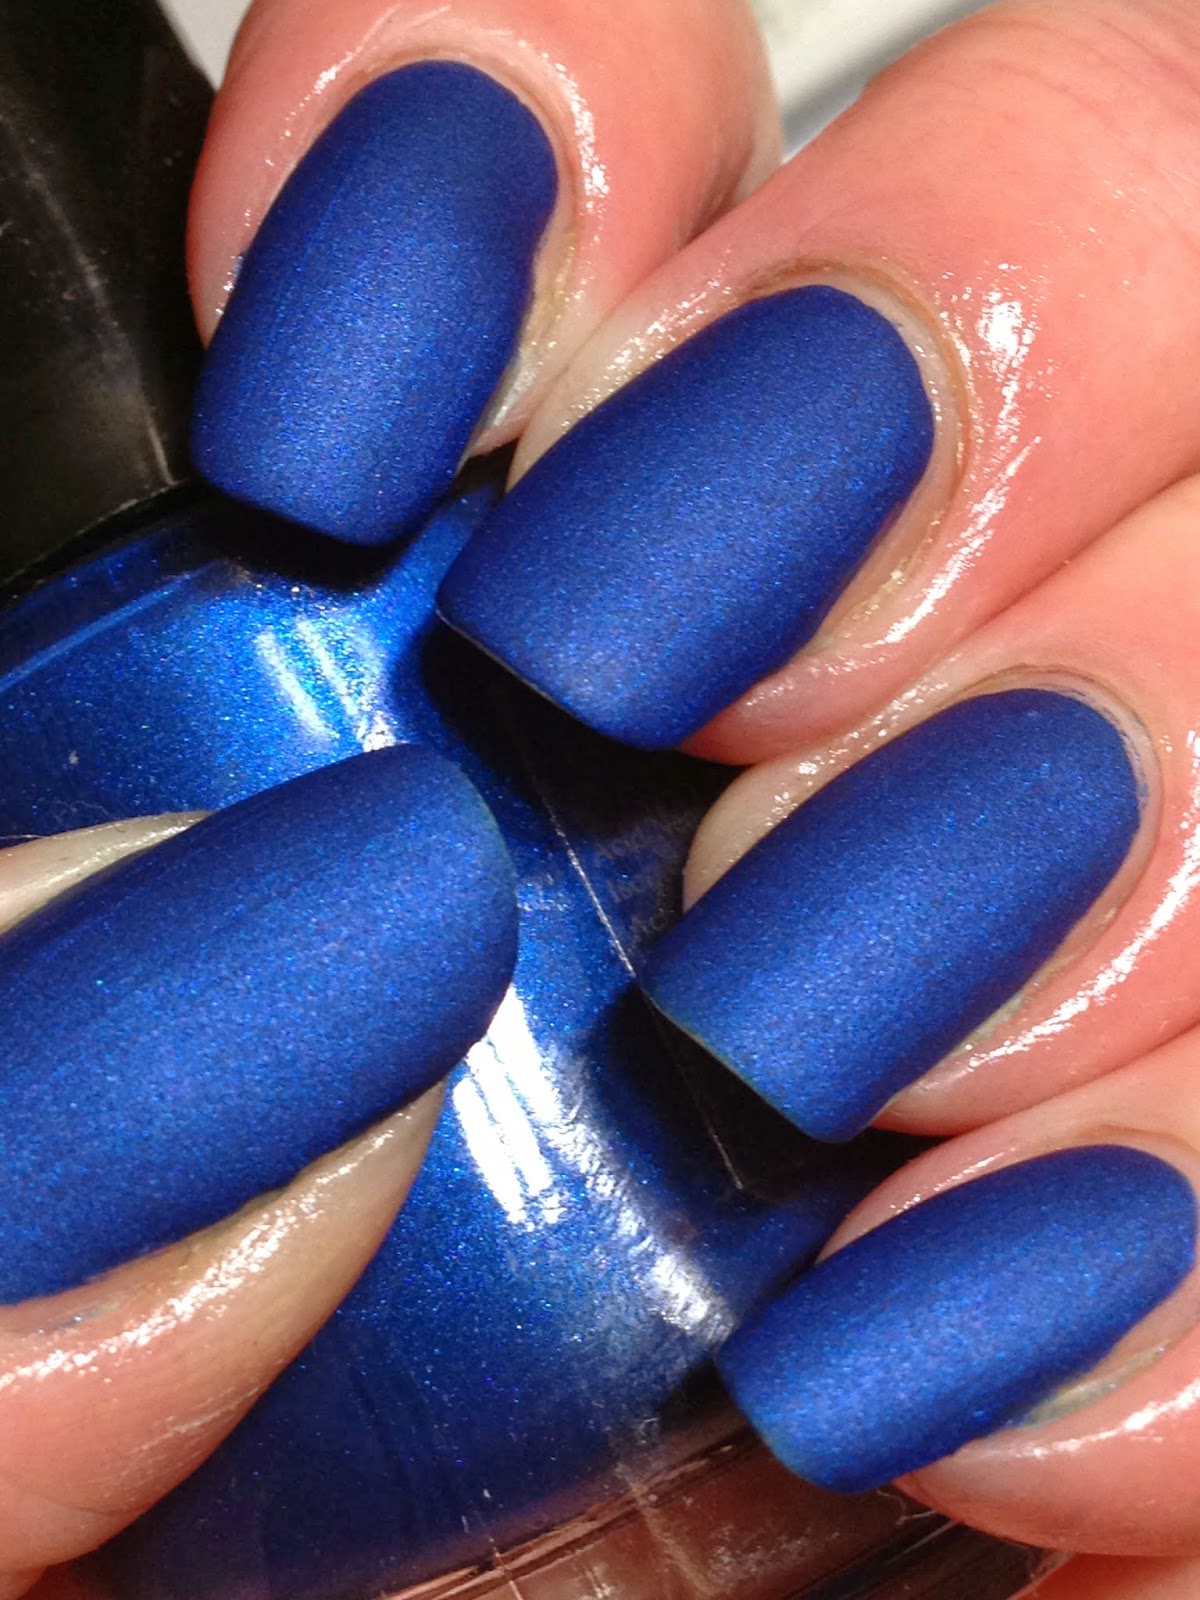
Mentality Brute

I think that sometimes, the simplest of designs can be the most effective and think this is one of those times! Here's a mani I came up with using Mentality Brute not too long ago!


Harlow & Co. recently started to carry Mentality polishes; I ordered this long time lemming not too long ago. This is one coat....one!....on all fingers except index and middle which I didn't apply very well and they have two. No top coat to keep the matte of the polish. 


I should point out the I was a little surprised on how dark Brute is; the pix above is more like a lot of the online pix I have seen are....however, I found it to be darker IRL like the pix below.
 

Stamped using white Konad special polish using Betina B18 on index and ring and FUN 5 on the rest of the fingers. I had a little mishap as I banged my nail against my desk just before stamping and I guess my nails weren't fully dry so the polish kind of wrinkled and shrunk back from the tip a bit but it wasn't that obvious IRL so just left it as opposed to repolishing.  


While I loved how the mani was looking at this time, if you have been following me for a while, you know it's my style to add a few accents or pops of colours to most mani's; added yellow dots using yellow Konad special polish to finish.


Believe it or not, I didn't topcoat this mani....yep, I left it as it was matte even though every fibre in my body says you must top coat!  Ok, to be honest, I tried a finger on my test hand and when the polish was top coated, I didn't love the look nearly as much so left the rest of the fingers.  One of the reasons I usually top coat all mani's is to prevent chips and wear but even without, this mani stood up well even though I spend a great deal of my day banging a key board.  I can't say how extended wear time was because I only wore it for 24 hours but there was nothing obvious at the end of the work day which was great news!

Thanks for looking!


Friday, March 21, 2014

Candynail Citrus Blues

For those who entered CNF's giveaway in December, you may remember that one of the prizes was a trio of polishes donated by a new Canadian indy polish maker, Candynail Polish.  The prize polishes were mailed to me from Candynail's to forward to the winner, and included in the package was a polish that she had included for me, which I'm sharing now.  This is Candynail Citrus Blues**.


Here's two coats of Candynails Citrus Blues.  The pix above has SV; the pix below is without topcoat. Application was easy and it was opaque for full coverage with the two coats.  There were a good amount of glitters with the two coats but I wouldn't complain if more made it onto my nails as I adore the pop of colour they add to the base!  This probably would have occurred with three coats but I rarely take the time for this. You can see in the pix below that the glitters layed down nicely and was still smooth even though no top coat had been applied.


Of course I had to add some stamping!  I wanted something fun to go along with the colourful and playfulness of the polish.


Stamped using red Konad special polish and Mundo de Unas stamping polishes in #11 (yellow) and #13 (orange).  Plates used were Lily Anna 10 (circles) and fauxnad XL F.


Topped with SV to finish.


Thanks to Candynails for her generosity as she also sponsored polishes for a recent Digit-al Dozen Giveaway!


Candynail Polish can be purchased here; she also has a FB group here where you'll find updates and swatches of her fabulous polishes and on Instagram here!

Thanks for looking!

**gifted item; see disclosure policy for further information.

Wednesday, March 19, 2014

Perfect Mix of Plates and Polish!

If you are a polish lover as well as a stamping addict (like me!) and are looking for interesting images to stamp but still allow the base polish to shine though, it can sometimes be a challenge finding suitable images that highlights the best of both worlds. This is a mani I came up with not too long ago showing a perfect mix of both...if I do say so myself!


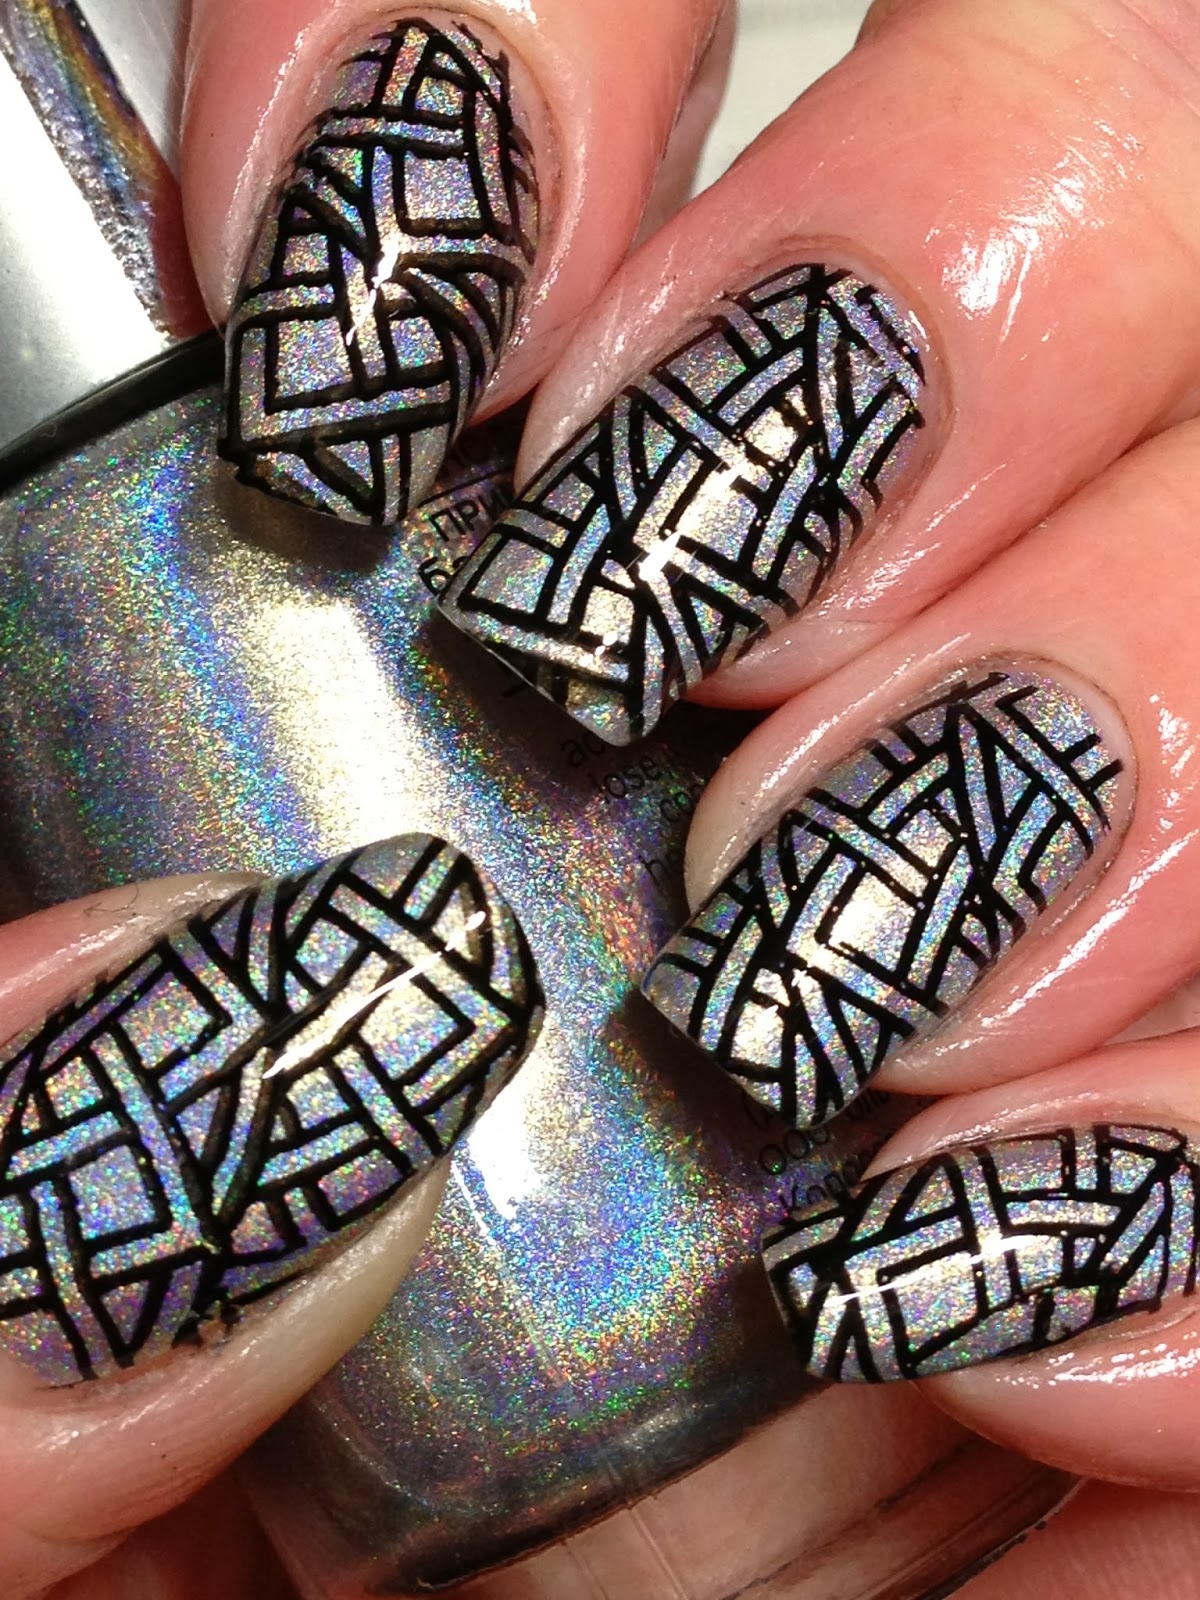
The base polish is Dance Legend T-1000 (#1); this is one coat, no topcoat.


Stamped using Infinity 37** using FUN black stamping polish.  The newly released series of Infinity plates have a lot of images that are perfect for not only the base polishes to show through but also to make stamper decals or the Lead-Light Lacquer technique.  


Topped with Sally Hansen Diamond Flash quick dry top coat to finish.


Infinity Plates are available at Dashica Beauty.  I have heard that there will be another 25 plates released soon but haven't seen any previews of them yet; just that it is in the works.

Thanks for looking!

P.S.  The winner of the Sally Hansen Prizepack has been chosen via raffleopter so be sure to check your emails!

**product sent for review.  Please refer to disclosure policy for further information.


Tuesday, March 18, 2014

Liquid Sky Cloudy Day Latte

I'm typing this post on only a few hours sleep on a stormy day; I can't think of anything witty or particiularly interesting to intro this mani (not like I do most times anyway!),  so here's a mani I came up with using Liquid Sky Cloudy Day Latte recently.


Started with one coat of Liquid Sky Cloudy Day Latte, no topcoat.


That freaked you out, didn't it?  I know it did me when I first seen it but don't despair, I do have better pix. Here they are!


Stamped with Lily Anna 03 using black FUN stamping polish.  What I really liked about this design is that the petals have the opening in them; it's not like it was poor stamping or etching if that makes sense.  So you can see even more of the base polish through them.


Topped with SV to finish.


I'm keeping my fingers crossed that this is the last of the winter storms....I'm ready to see robins in my yard and the first colour of crocuses to signal that spring has finally arrived!

Thanks for looking!